Introduction
The RifPlugin presented here is intended to help artists experiment with the
intriguing VR camera (
RixProjection)
plugin written by
Mach Kobayashi.
The source code for his plugin can be found here:
OmnidirectionalStereo.cpp
Ideally, his plugin should be automatically loaded by Maya as a result of RfM
sourcing the users custom RenderMan_for_Maya.ini and RMSWorkspace.ini scripts. However, the
Rif presented in this tutorial greatly simplifies the process of using Kobayashi's plugin
because users do not have to maintain any custom initialization (.ini) files.
Step 1 - Download the Pre-Built Plugins
Pre-built versions of the plugins are available for download from the links at the top of this
page. Copy the OmnidirectionalStereo and OmniProjection_Rif plugins to the Maya project directory
you intend to use for your "stereo" work. For example,
maya/projects/omni_stereo
Step 2 - In Maya
Launch Maya and before opening a scene file set your project directory using,
File->Set Project...
Either open an existing scene or create a few simple objecs and save your scene.
Confirm your project directory is set correctly open Render Setting and go to the Workspace
tab - figure 1.

Figure 1
Step 3 - Assign the Rif Plugin
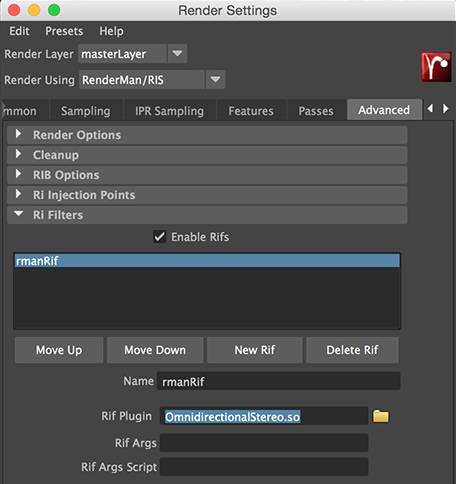
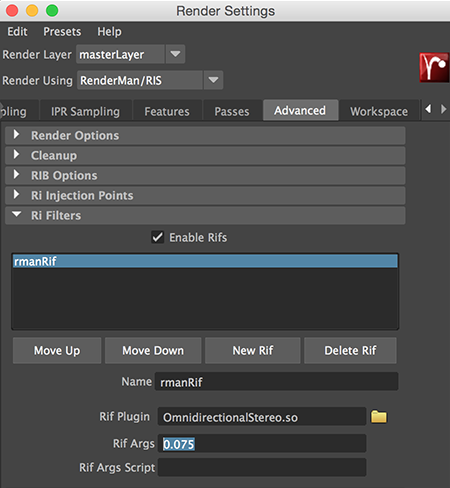
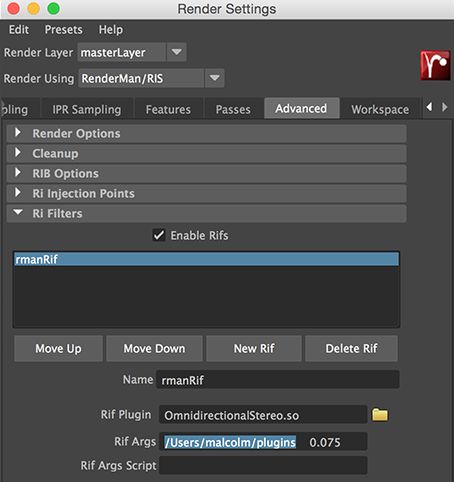
Go to the Render Settings Advanced tab and open the "Ri Filters" panel. Click the "New Rif" button and browse for Kobayashi's OmnidirectionalStereo plugin. On Windows the plugin will have a .dll file extensions.

Figure 2
Step 4 - Set an Image Size and Select a Camera
There is no need to use Maya's stereo camera. The OmnidirectionalStereo plugin
renders an image with upper and lower halves. The upper portion of the image
is rendered from the point of view of the left eye. The lower half is rendered
from the point of view of the right eye. Kobayashi recommends the format of the
image should be square.
Render the scene to the "it" window to confirm the rif and the OmnidirectionalStereo
plugin are being referenced without any errors. Because both plugins were
copied to a specific project directory it is vitally important the
project directory has been set correctly in Maya - step 2.

