Cutter
About


return to main index


Introduction

Cutter was originally intended to be a RenderMan text editor that would enable users to conveniently create, edit, render and compile rib documents and shading language source code files. Since its introduction in 2001 I have added many "RenderMan savvy" features to Cutter to ensure it is a self contained environment.

In addition to being tightly coupled to Rib and RSL it has also evolved into a useful text editor for a number of other scripting and programming languages such as Tcl, Mel, Python, Perl, Vfl, Ifd, Html, Shake, C, CPP and Java.


Integrated Browser

Cutter can automatically display an appropriate web page from the online documentation supplied by Pixar, Alias|Wavefront and ActiveState using either its own internal browser or Internet Exployer. For example when editing a (Pixar) shading language document, option + double clicking on the name of function, say, xcomp()
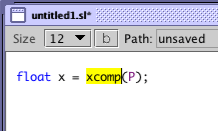


Figure 1


will cause Cutter to open its internal browser at

RISpec-html/section15.html#Geometric.functions
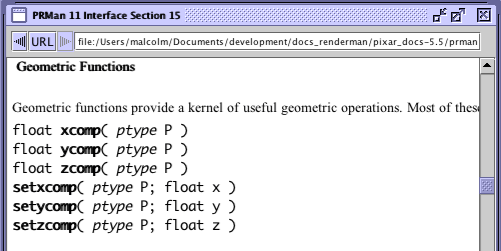

Figure 2


Or option + double clicking on a datatype, such as float, will likewise cause the browser to open,

shading_language_extensions/slextensions.html#Variable_Types

Some online documents will not display properly in Cutter's internal browser - Shake documentation is particularly difficult to read. Holding down the shift key while option + double clicking will display the appropriate document with Internet Exployer or (Mac OSX) Safari.


Popup Menu's

With the exception of HTML and Mel scripts, all other script documents have access to a popup menu that can be displayed in the normal way ie. right mouse click for Windows and Linux or Control + mouse click on Mac OSX. Two examples are shown below.
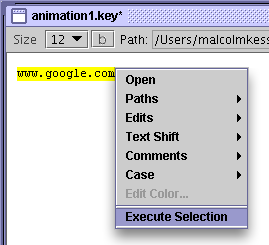
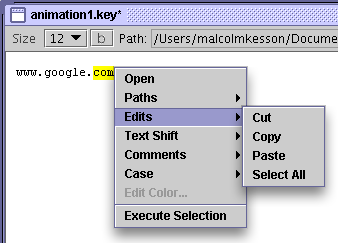
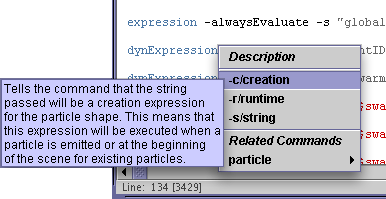
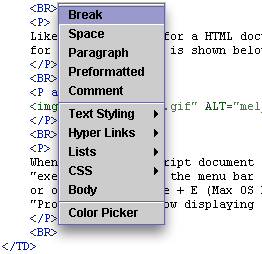
Figure 3


Figure 4


In the case of Mel scripts, Cutter goes one very useful step further by providing popups that display a summarized version of the information about a specific Mel command. For example, invoking the popup for "dynExpression" yields a list of its flags, sorted alphabetically, along with the descriptions of each flag extracted from the Alias|Wavefront online docs.


Figure 5


Like Mel the popup for a HTML document is also customized. The popup for a HTML document is shown below.


Figure 6


Execute

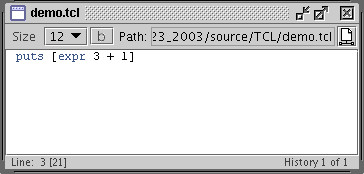
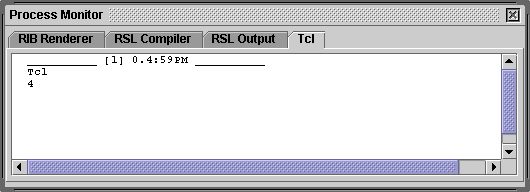
When a script document is open in Cutter it can be "executed" by using the menu bar command, Script > Execute, or ctrl + E, or option + E or Apple + E (Max OS X) or via the last item in the Script popup menu. The following example shows the "Process Monitor" window displaying the output from a simple Tcl script.


Figure 7


Figure 8


Notice in the lower righthand corner of the "demo.tcl" script window the item "History 1 of 1". Each time a script document is "executed" a copy of the script is added to a history zip file. The history file for demo.tcl would be automatically saved in the same directory as the source file as "cutter_history/demo.tcl.zip".

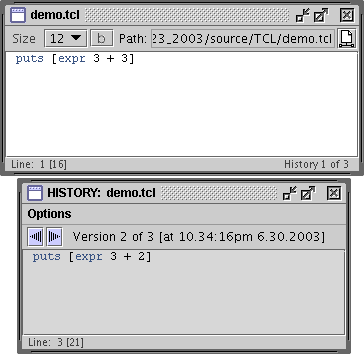
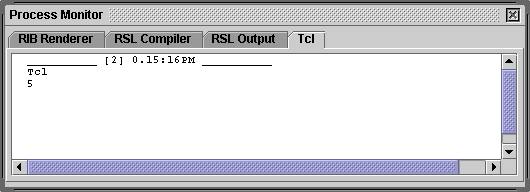
The history window for demo.tcl can be opened either from the main menu bar History > Open History or by pressing ctrl + H, or option + H. Navigation buttons at the top of the history window allow previous versions of a script to be viewed as well as executed. Below we see version 2 of 3 has been re-executed.


Figure 9


Figure 10


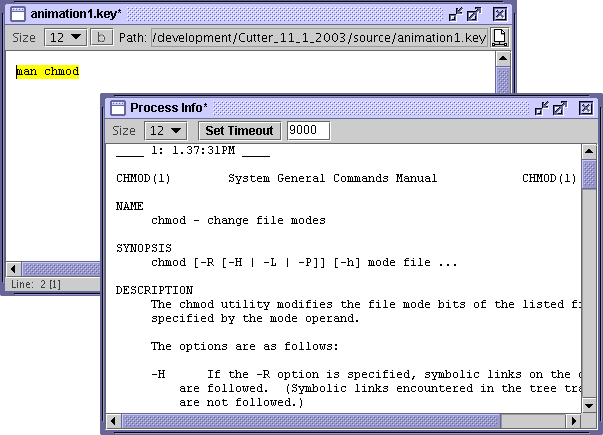
Selected text is also a "candidate" for execution. For example, on Mac OSX, the man page for chmod can be displayed by executing the appropriate text.


Figure 11


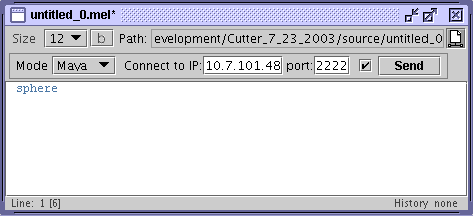
The facility to execute a script is different for Mel. Cutter can execute a Mel script by ftp'ing it to a Maya session that is either running on the same computer or across a network to another computer. Assume Maya has been launched on a computer with an IP address of 10.7.101.48 and that it has been told to "listen" for connections on port 2222 (any unused port will work) as a result of entering the following Mel command in the Maya script window,

commandPort -n ":2222"

A trivial Mel script is shown below. The network icon on the righthand side of its window has been selected and the window "Mode" has been set to "Maya". The "connect to IP:" and "port:" text fields have been chosen to match the IP address of the destination computer on which Maya is running.


Mel_script
Figure 12


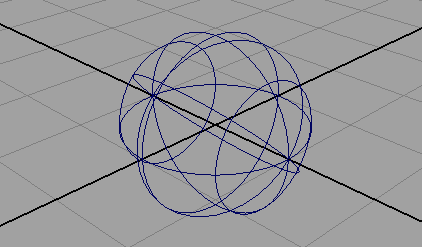
Having made sure a connection has been established by selecting the tick box, the script can be sent to Maya by either clicking the "Send" button or by pressing ctrl + E, or option + E.


Figure 13


Unfortunately, commandPort does not work on "Maya Complete", therefore, this facility is unavailable on the Mac OS X version of Maya.


© 2002- Malcolm Kesson. All rights reserved.