Step 1: Which Version of the Arnold SDK?
Launch Maya and from the Arnold menu select the "About" item. Note the version number of the "Arnold Core". In figure 1 it shows, on my computer, "6.0.0.0".
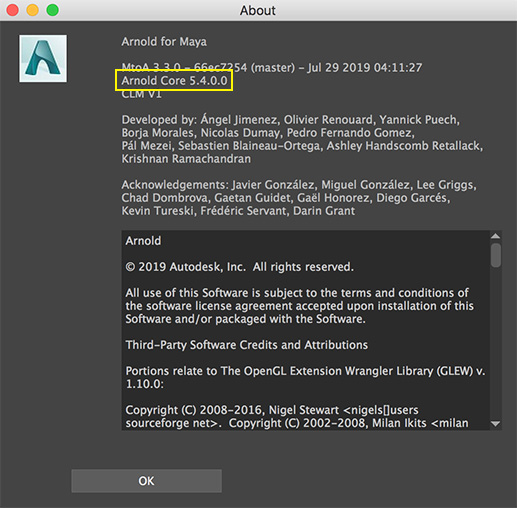
Figure 1
Step 2: Download the Arnold SDK
Go to:
https://www.arnoldrenderer.com/login/
and choose "Create New Account".
Once you have access to their website go to:
https://www.arnoldrenderer.com/arnold/download/
The current versions of the SDK are near the bottom of the page.
Alternatively, go to:
https://www.arnoldrenderer.com/arnold/download/archive/
to access all versions of the SDK both present and past. Make sure you download
the version of the SDK that matches the "Arnold Core" version.
Step 3: Installing the Arnold SDK
Once the .zip or .tgz file that is appropriate for your operating system has been unzipped
move the folder to a location that suits you. It does not have to be located in a specific
directory. For example I have my SDK in this path.
/Applications/solidangle/Arnold-5.4.0.0-darwin
but it could have located it in my Documents folder.
Step 4: Setting Up Maya
On my computer I have created the following directories.
maya/projects/Arnold_shaders/ <-- compiled shaders and .mtd files will go here
      	                    |_ src_c++/ <-- c++ source code files
                            |_ src_osl/ <-- osl source code files
The users Maya.env must be edited so that the Arnold mtoa
plugin will be able to find your custom shaders and their AETemplates.py files. On MacOSX
the Maya.env file is located in the users:
Library/Preferences/Autodesk/maya/20XX directory.
On Windows the Maya.env is normally located here:
C:\Users\ACCOUNT_NAME\Documents\maya\20XX
Add the following environment variables to the Maya.env file.
ARNOLD_PLUGIN_PATH=FULL_PATH_TO_MAYA/projects/Arnold_shaders
MTOA_TEMPLATES_PATH=FULL_PATH_TO_MAYA/projects/Arnold_shaders