Mel
|
Introduction
The purpose of this tutorial is to get you started with Mel scripting. We will
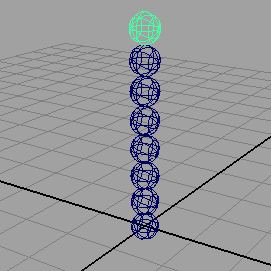
begin with the use of a single "for" loop to create a column of spheres -
listing 1, figure 1.
Listing 1 - grid1d.mel
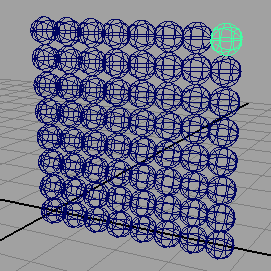
Listing 2 demonstrates how nested loops can be used to produce a 2D array of
spheres..
Listing 2 - grid2d.mel
|
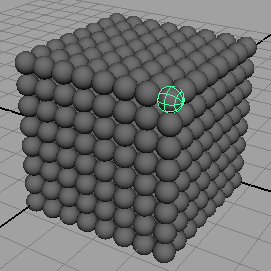
By nesting a third loop inside a 3D array of spheres can be produced - shown in figure 3. |
|
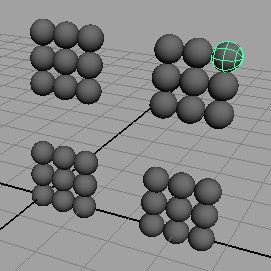
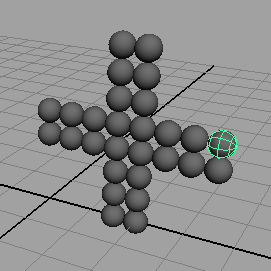
Holes / VoidsListing 3 demonstrates the use of a "if" test to determine when spheres should not be inserted. Listing 3 - holes2d.mel
Changing the "AND" (&&) and the "OR" (||) of the test produces very different gaps within the 2D array of spheres. Moving the code that inserts the spheres into the "empty" block produces the "reverse" of the pattern. For example, |
if($x > 2 && $x < 5 || $y > 2 && $y < 5) { sphere -r 0.25; move (0.5 * $x) (0.5 * $y) 0; } else { // leave a "hole" } |
|
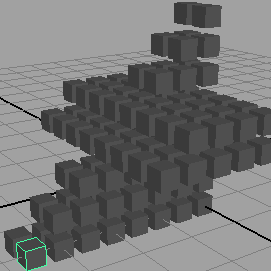
In listing 4 the loops have been changed so that a sequence of poly cubes are inserted into the scene in 'Z' (depth) order. The inner 'Y' loop has also been modified so as to produce the wedge effect shown in figure 6. |
Listing 4 - wedge.mel
|
© 2002- Malcolm Kesson. All rights reserved.