RSL
Rosette


return to main index


Introduction

This tutorial outlines the steps taken in developing a shader creates a simple rosette pattern - figure 1. The RSL code is given in listing 3.


Figure 1


The technique is based on the observation that each triangular "spoke" of the rosette is, diagonally, half of a rectangle - figure 2.


Figure 2


It is far easier to test whether an 'st' location is within the half diagonal, shown in red, if it's enclosing rectangle is "moved" to the origin of the texture coordinate system. Put another way, it is always easier to test the interior of shape when it is in its cannonical position ie. at the origin of the ('st') coordinate system.

Step 1 - Diagonal

Figures 2 and 3 shows a 1x1 'st' texture space. Notice the micropolygons in the area outlined in blue share this relationship with respect to their 's' and 't' texture coordinates.

    s + t <= 1.0

While the micropolygon in the area outlined in red share this relationship.

    s + t <= 0.4


Figures 3 & 4


The relationship can also be expressed as,
    s/0.4 + t/0.4 <= 0.4/0.4
or, more simply,
    s/0.4 + t/0.4 <= 1.0
To enable an arbitrary diagonal to be created two scaling factors, say, sscale and tscale can be used.
    s/sscale + t/tscale <= 1.0
This expression can be ncorported into a simple incandescent shader.


Listing 1 - diagonal.sl


surface diagonal(float  sscale = 0.4,
                        tscale = 0.2)
{
color    surfcolor = color(0.8,0.8,0.8);
  
if( s/sscale + t/tscale <= 1.0)
    surfcolor = color(1,0,0);
    
Oi = Os;
Ci = Oi * Cs * surfcolor;
}


Figure 5
A diagonal with sscale 0.4 and tscale 0.2


Step 2 - Triangle

To create a single triangle located at s = 0.6, t = 0.5 the 'st' coordinates are given corresponding offsets. Additionally, using the absolute value (abs()) of the offset 't' ensures the "mirrored" half of the offset triangle is also rendered.


Listing 2 - triangle.sl


surface triangle(float  sscale = 0.3,
                        tscale = 0.1,
                        soffset = 0.6,
                        toffset = 0.5)
{
color    surfcolor = color(0.8,0.8,0.8);
float    ss = (s - soffset)/sscale;
float    tt = (t - toffset)/tscale;
  
tt = abs(tt);
  
if(s >= soffset && ss + tt <= 1.0)
    surfcolor = color(1,0,0);
    
Oi = Os;
Ci = Oi * Cs * surfcolor;
}


Figure 6
A triangle with sscale 0.3 and tscale
0.1 and soffset 0.6 and toffset 0.5


Step 3 - Radial Repititions

The final step in creating the rosette pattern is to rotate the current 'st' location in increments equal to the angle that separates the "spokes" of the pattern and for each rotated 'st' location perform the "triangle" test.


Listing 3 - rosette.sl


surface
rosette(float   sscale = 0.15,
                tscale = 0.02,
                scenter = 0.5,
                tcenter = 0.5,
                soffset = 0.65,
                toffset = 0.5,
                num = 8;
        color   bakcolor = color(0.4,0.4,1),
                patcolor = color(1,0,0))
{
float angle = radians(360/num);
point centerPnt = point(scenter, tcenter, 0);
point axisPnt =   point(scenter, tcenter, 1);
point stPnt = point(s, t, 0);
point rotPnt;
float n, rotS, rotT;
color surfcolor = bakcolor;
  
for(n = 0; n < num; n += 1) {
    rotPnt = rotate(stPnt, n * angle, centerPnt, axisPnt);
    rotS = rotPnt[0];
    rotT = rotPnt[1];
    
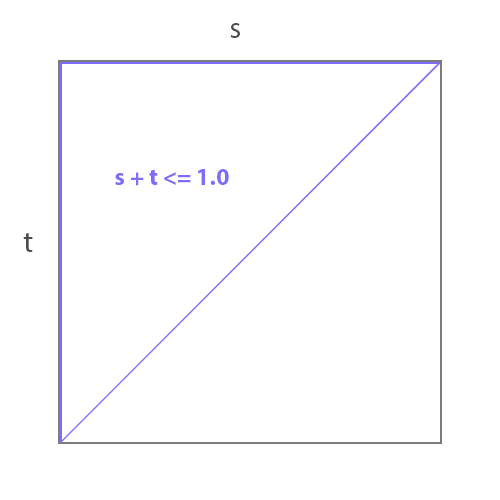
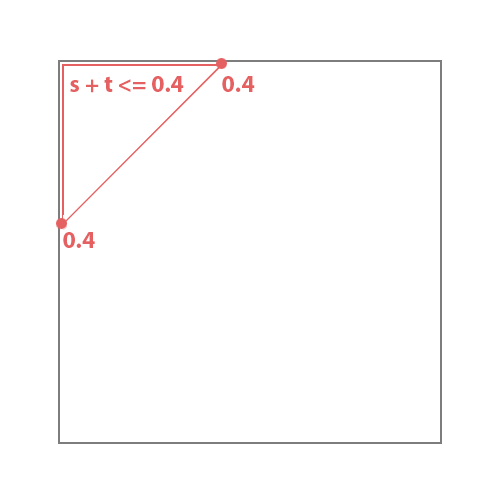
    float ss = (rotS - soffset)/sscale;
    float tt = abs(rotT - toffset)/tscale;
    if(rotS >= soffset && ss + tt <= 1)
        surfcolor = patcolor;
    }
  
Oi = Os;
Ci = Oi * Cs * surfcolor;
}

Another version of the shader that has more artist-friendly parameters is given next.


Listing 4 - rosette.sl


surface
rosette(float   spoke_length = 0.15,
                spoke_width = 0.05,
                spoke_num = 12,
                spoke_radius = 0.25,
                scenter = 0.5,
                tcenter = 0.5;
        color   bakcolor = color(0.4,0.4,1),
                patcolor = color(1,0,0))
{
float angle = radians(360/spoke_num);
point centerPnt = point(scenter, tcenter, 0);
point axisPnt =   point(scenter, tcenter, 1);
point stPnt = point(s, t, 0);
point rotPnt;
float n, rotS, rotT;
float soffset = scenter + spoke_radius;
float toffset = tcenter;
  
color surfcolor = bakcolor;
for(n = 0; n < spoke_num; n += 1) {
    rotPnt = rotate(stPnt, n * angle, centerPnt, axisPnt);
    rotS = rotPnt[0];
    rotT = rotPnt[1];
    
    float ss = (rotS - soffset)/spoke_length;
    float tt = abs(rotT - toffset)/spoke_width;
    if(rotS >= soffset && ss + tt <= 1) {
        surfcolor = patcolor;
        break;
        }
    }
Oi = Os;
Ci = Oi * Cs * surfcolor;
}

And, finally a version of rosette as a RSL function - listing 5. Using Cutter the function can be converted to a HyperShade node for Reyes rendering - refer to the tutorial "Cutter: HyperShade Node Scripts". Alternatively, the function can be converted to a Slim node for Reyes rendering - "Cutter: Slim Template Scripts".


Listing 5 - rosette.h


void
rosette(float   spoke_length,  /* [default 0.15] */
                spoke_width,   /* [default 0.05] */
                spoke_num,     /* [default 12]   */
                spoke_radius,  /* [default 0.25] */
                scenter,       /* [default 0.5]  */
                tcenter;       /* [default 0.5]  */
        color   bakcolor,      /* [default "0.4 0.4 1"] */
                patcolor;      /* [default "1 0 0"]     */
    output varying float mask;
    output varying color result)
{
float angle = radians(360/spoke_num);
point centerPnt = point(scenter, tcenter, 0);
point axisPnt =   point(scenter, tcenter, 1);
point stPnt = point(s, t, 0);
point rotPnt;
float n, rotS, rotT;
float soffset = scenter + spoke_radius;
float toffset = tcenter;
  
mask = 0;
result = bakcolor;
for(n = 0; n < spoke_num; n += 1) {
    rotPnt = rotate(stPnt, n * angle, centerPnt, axisPnt);
    rotS = rotPnt[0];
    rotT = rotPnt[1];
    
    float ss = (rotS - soffset)/spoke_length;
    float tt = abs(rotT - toffset)/spoke_width;
    if(rotS >= soffset && ss + tt <= 1) {
        result = patcolor;
        mask = 1;
        return;
        }
    }
}

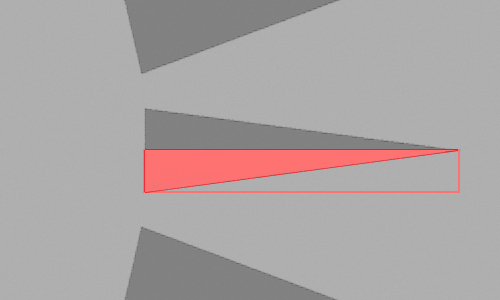
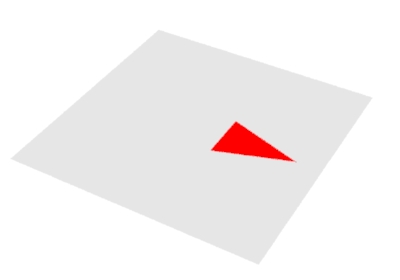
As a node, rather than a pre-compiled shader, the pattern can be distorted in many interesting ways - figure 7.
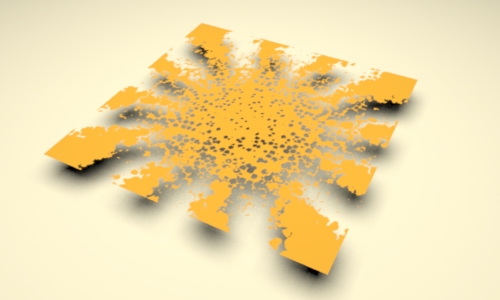


Figure 7


© 2002- Malcolm Kesson. All rights reserved.