RSL
|
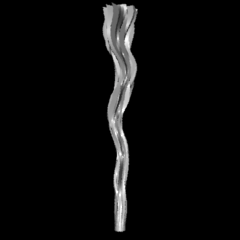
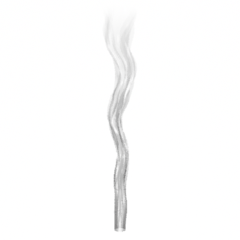
IntroductionThis tutorial presents an example of applying several effects within a single displacement shader. The presentation is intended to encourage "shading" to be considered to be an accumulation of individual effects each of which occurs on an imaginary "layer". The tutorial develops a displacement shader intended to make a nurbs cylinder, modeled in Maya or Houdini, appear to behave like a column of smoke. |
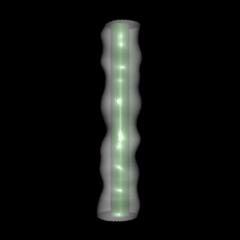
Layer 1The purpose of the effect created in this "layer" of the shader is to apply bumps to the cylinder. Figure 1 shows the result of applying noise to a (quadric) cylinder. By transforming point P to another coordinate system the shader will be able to respond to a key-framed "RenderMan Coordinate System" in Maya. The original un-displaced cylinder in shown in green. Listing 1
|
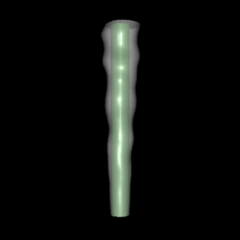
Layer 2The purpose of the effect created in this "layer" of the shader is to ramp the bumps so that the base of the cylinder appears smooth and while (simple) turbulance appears to increase with height. Listing 2
|
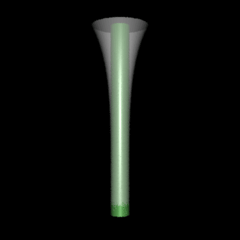
Layer 3This layer produces a trumpet shape at the top of the column of "smoke". Listing 3
|
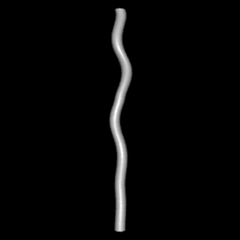
Layer 4This layer produces a wave along the x and z axes of the object. Listing 4
|
Combined + Surface
Listing 5
|
Listing 6 (surface shader)
|
© 2002- Malcolm Kesson. All rights reserved.