OSL
Rosette


return to main index


Introduction

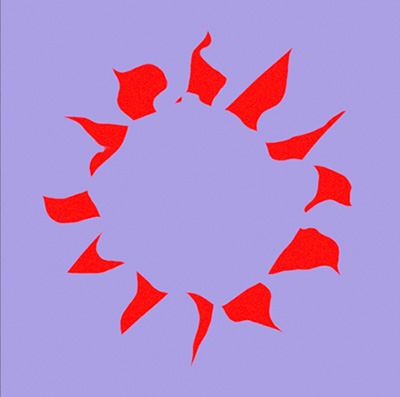
This tutorial outlines the steps taken in developing a shader that creates a simple rosette pattern - figure 1. The OSL code is given in listing 3.
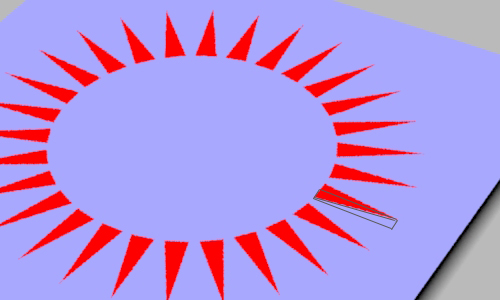


Figure 1


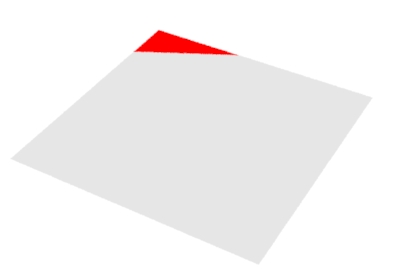
The technique is based on the observation that each triangular "spoke" of the rosette is, diagonally, half of a rectangle - figure 2.
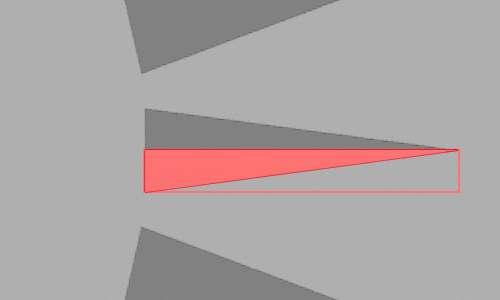


Figure 2


It is far easier to test whether an 'st' location is within the half diagonal, shown in red, if it's enclosing rectangle is "moved" to the origin of the texture coordinate system. Put another way, it is always easier to test the interior of shape when it is in its cannonical position ie. at the origin of the ('st') coordinate system.

Step 1 - Diagonal

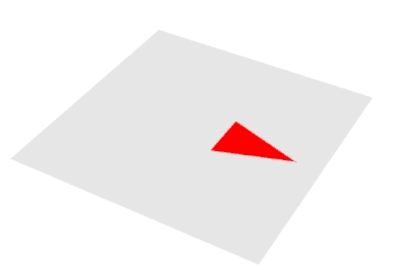
Figures 2 and 3 shows a 1x1 'st' texture space. Notice the micropolygons in the area outlined in blue share this relationship with respect to their 's' and 't' texture coordinates.

    s + t <= 1.0

While the micropolygon in the area outlined in red share this relationship.

    s + t <= 0.4


Figures 3 & 4


The relationship can also be expressed as,
    s/0.4 + t/0.4 <= 0.4/0.4
or, more simply,
    s/0.4 + t/0.4 <= 1.0
To enable an arbitrary diagonal to be created two scaling factors, s_scale and t_scale can be used.
    s/s_scale + t/t_scale <= 1.0
This expression can be ncorported into a simple incandescent shader.


Listing 1 - diagonal.osl


shader 
diagonal(float  s_scale = 0.4,
         float  t_scale = 0.2,
         float  s = 0 [[int lockgeom = 0]],
         float  t = 0 [[int lockgeom = 0]],
    output color resultRGB = 0)
{
resultRGB = color(0.8,0.8,0.8);
  
if( s/s_scale + t/t_scale <= 1.0)
    resultRGB = color(1,0,0);
}


Figure 5
A diagonal with s_scale 0.4 and t_scale 0.2


Step 2 - Triangle

To create a single triangle located at s = 0.6, t = 0.5 the 'st' coordinates are given corresponding offsets. Additionally, using the absolute value (abs()) of the offset 't' ensures the "mirrored" half of the offset triangle is also rendered.


Listing 2 - triangle.osl


shader
triangle(float  s_scale = 0.3,
         float  t_scale = 0.1,
         float  s_offset = 0.6,
         float  t_offset = 0.5,
         float  s = 0 [[int lockgeom = 0]],
         float  t = 0 [[int lockgeom = 0]],
    output color resultRGB = 0)
{
resultRGB = color(0.8,0.8,0.8);
float    ss = (s - s_offset)/s_scale;
float    tt = (t - t_offset)/t_scale;
  
tt = abs(tt);
if(s >= s_offset && ss + tt <= 1.0)
    resultRGB = color(1,0,0);
}


Figure 6
A triangle with s_scale 0.3 and t_scale
0.1 and s_offset 0.6 and t_offset 0.5


Step 3 - Radial Repititions

The final step in creating the rosette pattern is to rotate the current 'st' location in increments equal to the angle that separates the "spokes" of the pattern and for each rotated 'st' location perform the "triangle" test.


Listing 3 - rosette.osl


shader
rosette(float   spoke_length = 0.15,
        float   spoke_width = 0.05,
        float   spoke_num = 12,
        float   spoke_radius = 0.25,
        float   s_center = 0.5,
        float   t_center = 0.5,
        color   bakcolor = color(0.4,0.4,1),
        color   patcolor = color(1,0,0),
        float   s = 0 [[int lockgeom = 0]],
        float   t = 0 [[int lockgeom = 0]],
    output color resultRGB = 0)
{
float angle = radians(360/spoke_num);
point centerPnt = point(s_center, t_center, 0);
point axisPnt =   point(s_center, t_center, 1);
point stPnt = point(s, t, 0);
point rotPnt;
float n, rotS, rotT;
float soffset = s_center + spoke_radius;
float toffset = t_center;
  
resultRGB = bakcolor;
for(n = 0; n < spoke_num; n += 1) {
    rotPnt = rotate(stPnt, n * angle, centerPnt, axisPnt);
    rotS = rotPnt[0];
    rotT = rotPnt[1];
    
    float ss = (rotS - soffset)/spoke_length;
    float tt = abs(rotT - toffset)/spoke_width;
    if(rotS >= soffset && ss + tt <= 1) {
        resultRGB = patcolor;
        break;
        }
    }
}

Using PxrFracal with the OSL node produces more "interesting" effects.


Figure 7


© 2002- Malcolm Kesson. All rights reserved.