Introduction
This tutorial is a brief introduction to the writing, compiling and use of
procedural primitives with Maya. The C/C++ language code used by this
tutorial implements a traditional RiProcedural interface - not the newer
RiProcedural2 interface.
Before following the instructions given in this tutorial the reader should
have carefully reviewed the tutorial
"C++ Development Environment".
It provides detailed information on installing MicroSoft's Visual Studio Community development
environment and information about XCode for MacOSX.
The C++ Code
From Cutter's Template menu choose Procedural Prim->GenSpheresProc.cpp.
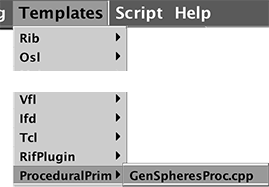
Figure 1
Save the file as StarterProc.cpp in the following location,
maya/rfm_scripts/proc_prims/src_c++
Compiling and Building the ProcPrim
Use the keyboard shortcut Alt+e, Control+e or Apple+e. A Process Monitor window will open. Ensure the DSO has been successfully compiled and built and has been saved in the location specified by Cutter's preference. On Windows the text displayed by the Process Monitor will be slightly different.
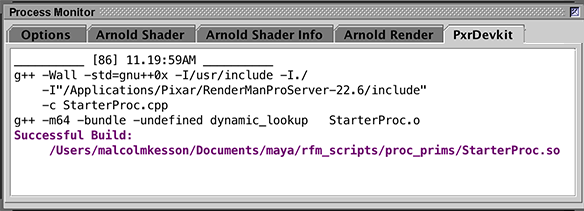
Figure 4 (OSX)
Using the ProcPrim with Maya
From the RenderMan menu choose Archive->Create Procedural Node.
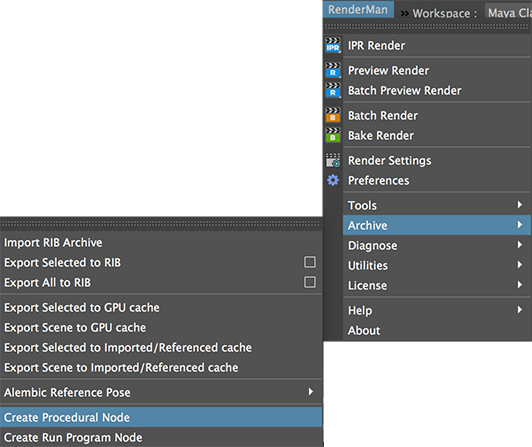
Figure 5
Use the directory browse button to locate the DSO. On Windows the DSO will be named
StarterProc.dll.
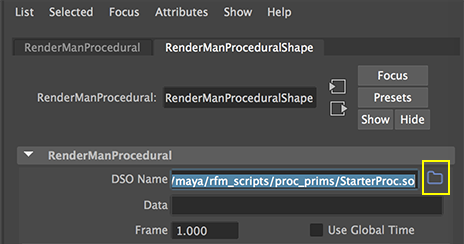
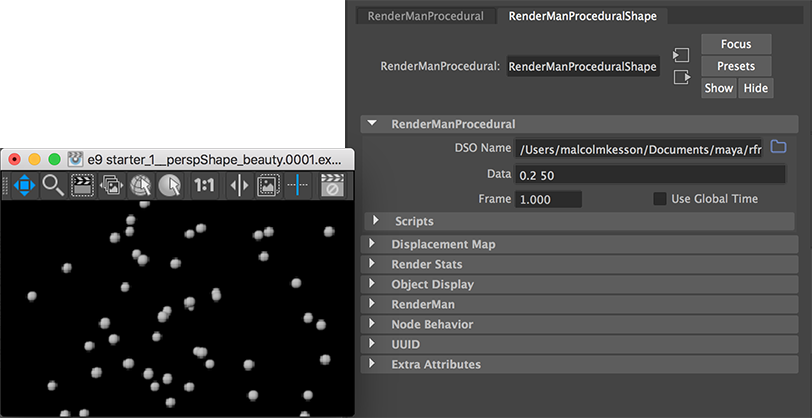
Figure 6
In the Data textfield enter the following text (make sure there is a space between the two numbers)
0.2 50
Render a frame and you should be rewarded with 50 spheres of 0.2 units in radius.