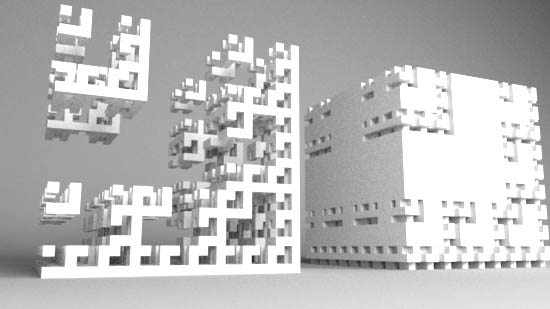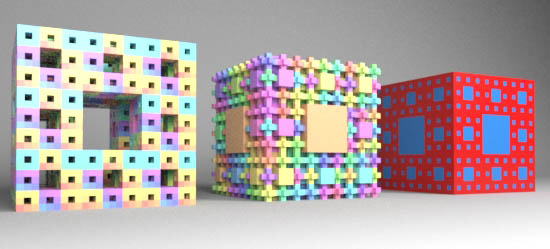
Figure 1
RfM
|
|
|
IntroductionThis tutorial presents five scripts that implement an interface that enables a polycube to be rendered as a Menger sponge - figure 1. Two of the scripts are taken from the tutorial, Python: Menger Sponge.
|
Step 1 - Install the Scripts
It is assumed the reader has followed the recommendations on customizing
RenderMan for Maya presented in the tutorial,
"RfM: Customizing".
|
Step 2 - Using the Scripts
Launch Maya and check the RenderMan_for_Maya plugin is loaded. |
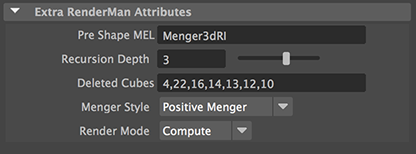
Step 3 - To Menger or Not to Menger
A great variety of Menger-like shapes can be created by specifying the indices of
the cubes to be removed when the Menger is recursively sub-divided. The scripts have
been written so that the cubes that have been removed - the Menger "holes" - can
be rendered using the "Menger Style" dropdown menu. For example, the following
"Deleted Cubes" indices,
|
© 2002- Malcolm Kesson. All rights reserved.