RfM
RiMel - ParticleInstancer


return to main index

Download:
    ri_mel_scripts.zip


Introduction

This page presents three scripts that implement an interface that enables any number of prebaked archives to be randomly "placed" at the xyz positions of a particle system - figure 1.


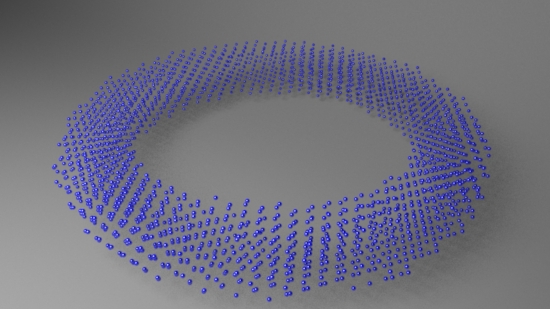
Figure 1 (particles->rollover->archives)


Many thanks to Bryan Bentley for preparing the rib archives of the walking teapot.


The Custom UI

The UI created by the scripts is shown below.


Figure 2


Installing the Scripts

Step 1

Download and unzip the ri_mel_scripts.zip file. Copy the three scripts to your maya/projects/RfM_mel directory. Refer to the tutorial "RfM: Customizing" for information about this directory.

    maya/projects/RfM_mel/
                         |_ particleInstancer.rman
                         |_ particleInstancerUI.mel
                         |_ particleInstancerRI.mel


Step 2

Create an object or objects that will be exported as a rib archive(s). Make sure the object or objects are at the origin of the modelling plane. Go to the Modify menu item in Maya and choose "Freeze Transforms".

Go to the File menu and choose "Export Selection". In the "General Options" panel select "RIB_Archive". Save the rib archive(s) in the project directory. Traditionally, archives are saved in a folder named "RIB_Archive".


Figure 3


Step 3

Create a poly object, say, a torus. From the nParticles menu choose "Fill Object".


Figure 4

In the script editor (MEL tab) run this command,
    particleInstancerUI();


Step 4

If the rib archive files that were created in step 2 were NOT saved to a folder named "RIB_Archive" the text field "Archives Directory" should be edited. Render the scene to confirm the archives being rendered instead of the particles.


Figure 5


Look Dev

If the rib archive files that were created in step 2 were exported without a shader then a material such as PxrSurface must be assigned via the transform tab.


Figure 6


© 2002- Malcolm Kesson. All rights reserved.