Introduction
Although RfM19 introduced the possibility of creating custom RIS pattern nodes using the Open Shading Language (OSL) it did not provide a fully functional PxrOSL node. The PxrOSL node can reference an OSL shader but it does not have the functionality to dynamically add UI parameter widgets that "connect" to a shaders inputs. For example, figure 1 shows the attribute editor for a PxrOSL node that references a shader named colorByObjOrigin.oso. Note there are no UI widgets.
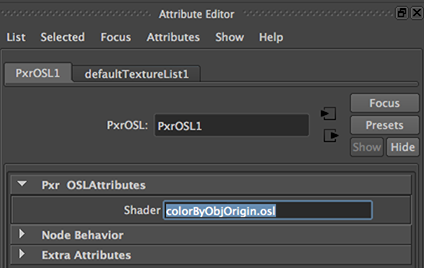
Figure 1 - No UI
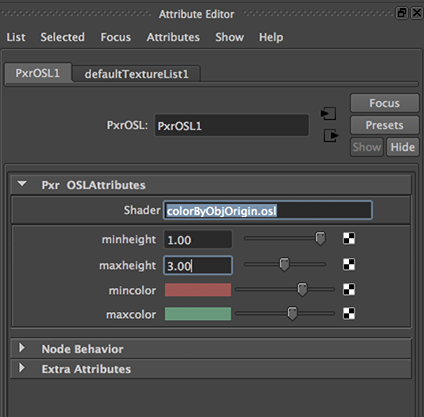
Figure 2 - With UI
(refer to OSL: Color by Height)
Figure 2 shows what a UI-savvy PxrOSL node will look like when version 21
of RfM is released. In the meantime the work-around introduced in this tutorial and a more complicated
approach explained in the tutorial "RfM: OSL RIB Box + TCL Hack" will allow the reader to
explore the use of OSL with Maya.
Readers who wish to get started with OSL should refer to the tutorial
"Cutter: Open Shading Language"