Figure 1
RIS
|
|
|
|
Create the following directory structure. Refer to "Cutter: Setting Up" for information about installing Cutter. HOME_DIR
|_/archives/
| |_ geo/
| |_ lights/
| |_ materials/
|_/cutter
|_/frames
|_/ribs
|_/shader_src
|_/shaders
|_/textures <<-- converted .tex files
|_/tiffs <<-- source images for texture maps
Step 2 - Preparing the Rib Archives
Save bar.rib and jack.rib archives
in the HOME_DIR
|_/archives/
|_geo/
|_ bar.rib
|_ jack.rib
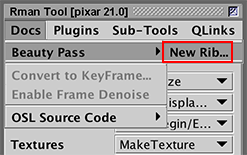
Step 3 - Preparing a Scene for ModelingGenerate a rib using the Beauty Pass menu - figure 2.
Save the file as HOME_DIR
|_/ribs/
|_ jack_scene.rib
Edit the AttributeBegin
Scale 3 3 3
ReadArchive "geo/jack.rib"
AttributeEnd
Render
Step 4 - Improving the Lighting
Save the 3lights.rib archive the
    HOME_DIR
            |_/archives
                      |_/geo
                      |_/lights/
                              |_ 3lights.rib
Lines 28 to 41 should be replaced with the following ReadArchive "lights/3lights.rib"
|
|
ShadingStep 1 - Applying a Material to the "floor"
It is easier to do look-development if the shading network that defines
a material is specified in rib archive. For example, save an empty rib archive
named HOME_DIR
|_/archives
|_/geo
|_/lights
|_/materials/
|_ ThinFilm.rib
Open the archive document and choose
Cutter will insert a Bxdf rib statement into the document. Do the same again but
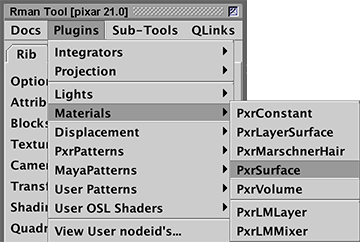
choose Plugins->PxrPatterns-> |
Pattern "PxrThinFilm" "PxrThinFilm1"
        # params have been omitted...
        # "PxrThinFilm2:resultRGB"   uses->|color|vector|normal|point|
        # "PxrThinFilm2:resultR"     uses->|float|
        # "PxrThinFilm2:resultG"     uses->|float|
        # "PxrThinFilm2:resultB"     uses->|float|

Bxdf "PxrSurface" "PxrSurface1"
        "reference color diffuseColor" ["PxrThinFilm1:resultRGB"] # <-- connection
        # remaining params have been omitted...
|
|
Cutter indicates the outputs of a Pattern within the comments. Notice the "color diffuseColor" [0.18 0.18 0.18] has been edited so that it receives color values from the output (resultRGB) of the PxrThinFilm "node". "reference color diffuseColor" ["PxrThinFilm1:resultRGB"] Add the following ReadArchive immediately before the Polygon statement. ReadArchive "materials/ThinFilm.rib" A similar procedure can be followed for the chromium "look" for the jack - Chrome.rib. For example, Bxdf "PxrSurface" "PxrSurface2"
"color specularFaceColor" [1 1 1]
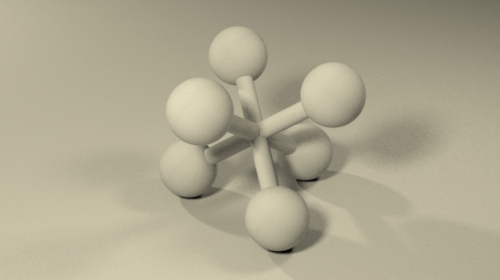
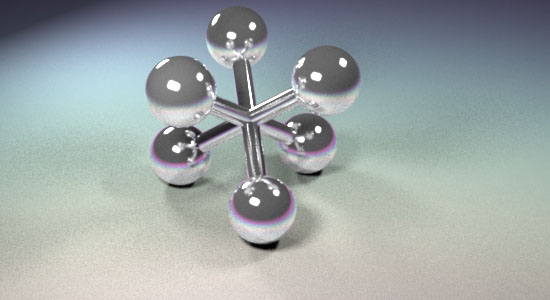
The final render is shown next.
|
© 2002- Malcolm Kesson. All rights reserved.