Introduction
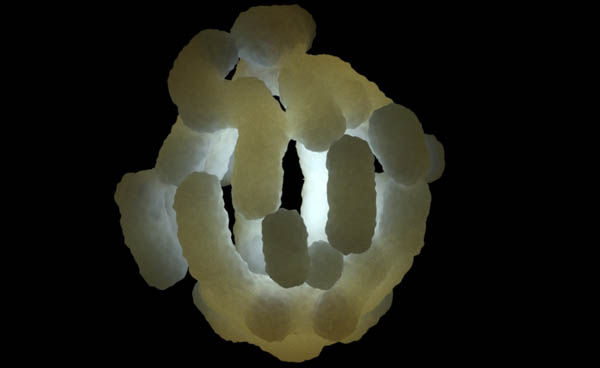
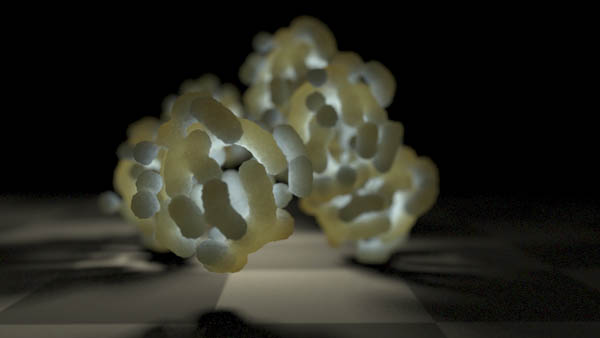
This tutorial provides a number of scripts suitable for writing geometric and shading data to a
brickmap
that can be subsequently rendered as a geometric primitive. Using brickmaps as
geometry is a technique ideally suited to situations where surfaces are rendered using
computationally expensive techniques.
The advantage of using brickmaps as geometry is that their internal data structure
enables PRMAN to automatically apply level-of-detail without the need for an artist
to prepare
multiple versions
of the same model.
The current version RMS 18 does not provide a convenient way of baking and
re-using brickmaps as geometry. The scripts given here are
intended to provide a starting point for those who wish to develop more
flexible, robust and artist-friendly interfaces for use in a production
environment.
Know Issues/Problems
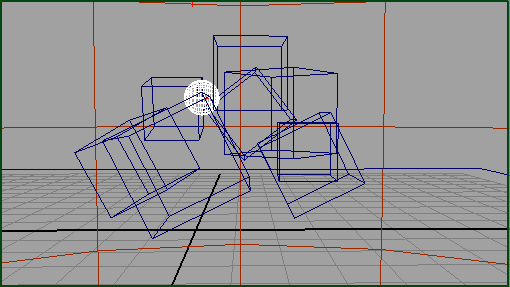
Baking a brickmap from a scene that is rendered without raytracing is straightforward. However, when raytracing it is essential the "Hider" is "reyes", figure 1, and geometry is set to single sided - figure 2.
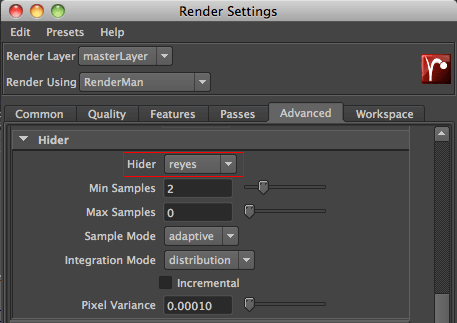
Figure 1
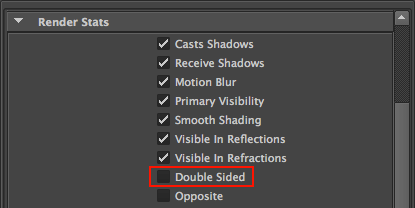
Figure 2