Workflow
1 Select a polymesh object that you wish to be rendered as a wireframe.
2 Open the script editor (MEL tab) and execute the following command,
addFloatPrimVar("curve_mode", 1);
The value of 1 tags the polymesh for it's edges to
be represented by linear curves - wireframe. A value of 2
tags the mesh for rendering normally AND for it's edges to be shown as wireframe representations.
3 To confirm the additional channel has been added go to the Channels tab.

Figure 3
Note the name have each has automatically been given the prefix rmamcF. The prefixe will ensure
the value of the channel will become a primvar that can be
read by the rif.
4 Execute the following python commands in the script editor (Python tab),
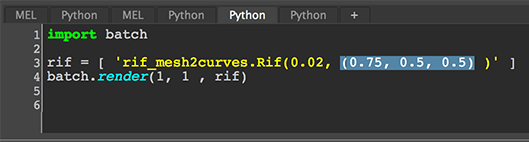
Figure 4
The value of 0.02 sets the width of the linear curves and the tuple (or list) sets a primvar bound to the Ricurves that can be read by a PxrPrimvar node for the purpose of colorizing the curves.
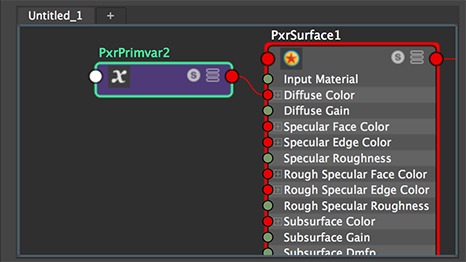
Figure 5
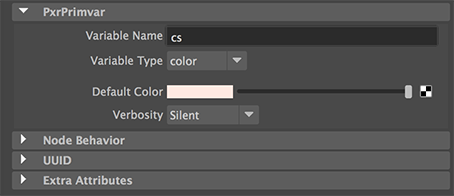
Figure 6